Main Navigation
05 November 2025
Tags
Dogs & puppies
Langford Vet Practice

Head Halters

A muzzle is a useful safety tool that keeps your dog and others safe. Short, positive training sessions with treats help your dog get used to it, and wearing a Baskerville muzzle lets them eat, drink, and pant comfortably.

A head halter is a very useful safety tool which will help you control your dog by guiding their head; where the head goes, the body will follow. This is the same principle when using a halter and lead rope to control the direction a horse moves in.

In addition to controlling the direction your dog moves in, a head halter can be used to redirect their gaze to you and so assist you when you need them to disengage with a potential trigger.

There are numerous types of head halter available, with the Halti Head Collar and the Gentle Leader being two of the most commonly used ones. Regardless of which brand you use, ensure you get the correct size; the neck strap should be up behind the ears and snug enough you can get 2 fingers under it and the noseband should sit should be down the nose and away from the eyes. Most companies which produce head halter offer a sizing guide.

Stage 1 - Introducing the Head Halter

  1. Choose a cue word to use such as “Halter” which will indicate that the head halter is going to be used.
  2. Have some small, tasty treats to hand which your dog will work for.
  3. Find a quiet place to train away from any distractions.
  4. Sit with your dog and say the cue word, show them the head halter and give them a treat. Do not attempt to put it on, just show it to them.
  5. Repeat this 15 - 20 times within a few minutes. During this time do not expect any specific behaviour, such as “Sit” or “Down”, just show them the head halter, say the cue word and give them a treat.
  6. After 15 – 20 repetitions your dog should start forming an association between seeing the head halter and getting a treat.
  7. Say the cue word, then place the head halter on the floor with some treats near it. Over time move the treats closer to the head halter and eventually in the nose loop of the head halter so that your dog gets used to touching the head halter with their nose. Once your dog is comfortable approaching and touching the head halter, progress onto the next step.
  8. Hold the head halter in a position where your dog can get their nose into the nose loop; hold a treat near to the nose loop so that they have to put their nose through the nose loop to get the treat; as your dog approaches say the cue word and allow them to take the treat. Do not push it onto your dogs nose or try to do it up at this point; allow them to approach, put their nose in the nose loop and move away in their own time.
  9. Repeat this several times, slowly moving the food closer to you and further through the nose loop so that your dog has to put their nose further into the nose loop each time.
  10. Test your dog; hold the head halter and say the cue word, they should approach the head halter and put their nose through the nose loop. If they don’t do this, go back and work through steps 8 and 9 until they respond to the cue word.

Once your dog is able to put their nose in the nose loop on cue, you can move onto the next stage.

Holding the nose loop open

Holding a treat through the nose loop

Stage 3 - Fastening the Neck Strap and Increasing Halter Wearing Time

The most important aspect of Stage 3 is to take your time - do not rush this stage as it could undo all of the head halter training done so far.

  1. Have some small, tasty treats and soft food to hand which your dog will work for.
  2. Find a quiet place to train away from any distractions.
  3. Have some soft food ready that your dog can lick, say the cue word and while they are licking the treat with the nose loop on, slowly move the straps and do the clip up. After 1 second, undo it and take it off. Repeat this several times until your dog is comfortable with the head halter being done up.
  4. Slowly increase the time the clip is done up; this may be in 1 second increments until they are comfortable wearing it for a few minutes at a time.
  5. At this early stage, keep feeding treats while the head halter is done up. Over time, you can decrease the number of treats given.
  6. When your dog is comfortable wearing the head halter, try scattering some treats on the floor to encourage them to move around with the head halter on.

Stage 4 - Attaching the Leash

Once your dog can wear the head halter and move around comfortably, the leash can be attached to the head halter;

  1. Have some small, tasty treats and soft food to hand which your dog will work for.
  2. Find a quiet place to train away from any distractions.
  3. Put the head halter on your dog.
  4. Clip the leash on for a few seconds, give them some treats while it is attached, then remove it. DO NOT move or pull on the leash, this step allows them to get used to the feeling of the leash attached to the
    head halter.
  5. Gradually increase the length of time the leash is attached to the head halter; always rewards them for being comfortable in the head halter.
  6. Once they are comfortable with the leash attached to the head halter, you can progress to holding the leash while it is attached to the head halter.

Once your dog is comfortable wearing the head halter with the leash attached you can move onto training them to loose leash walk while wearing it.

Taken from Small Animal Veterinary Psychiatry. S. Denenberg, CABI Publication, 2021.

Stay in the know  Related articles & advice

  1. Behaviour

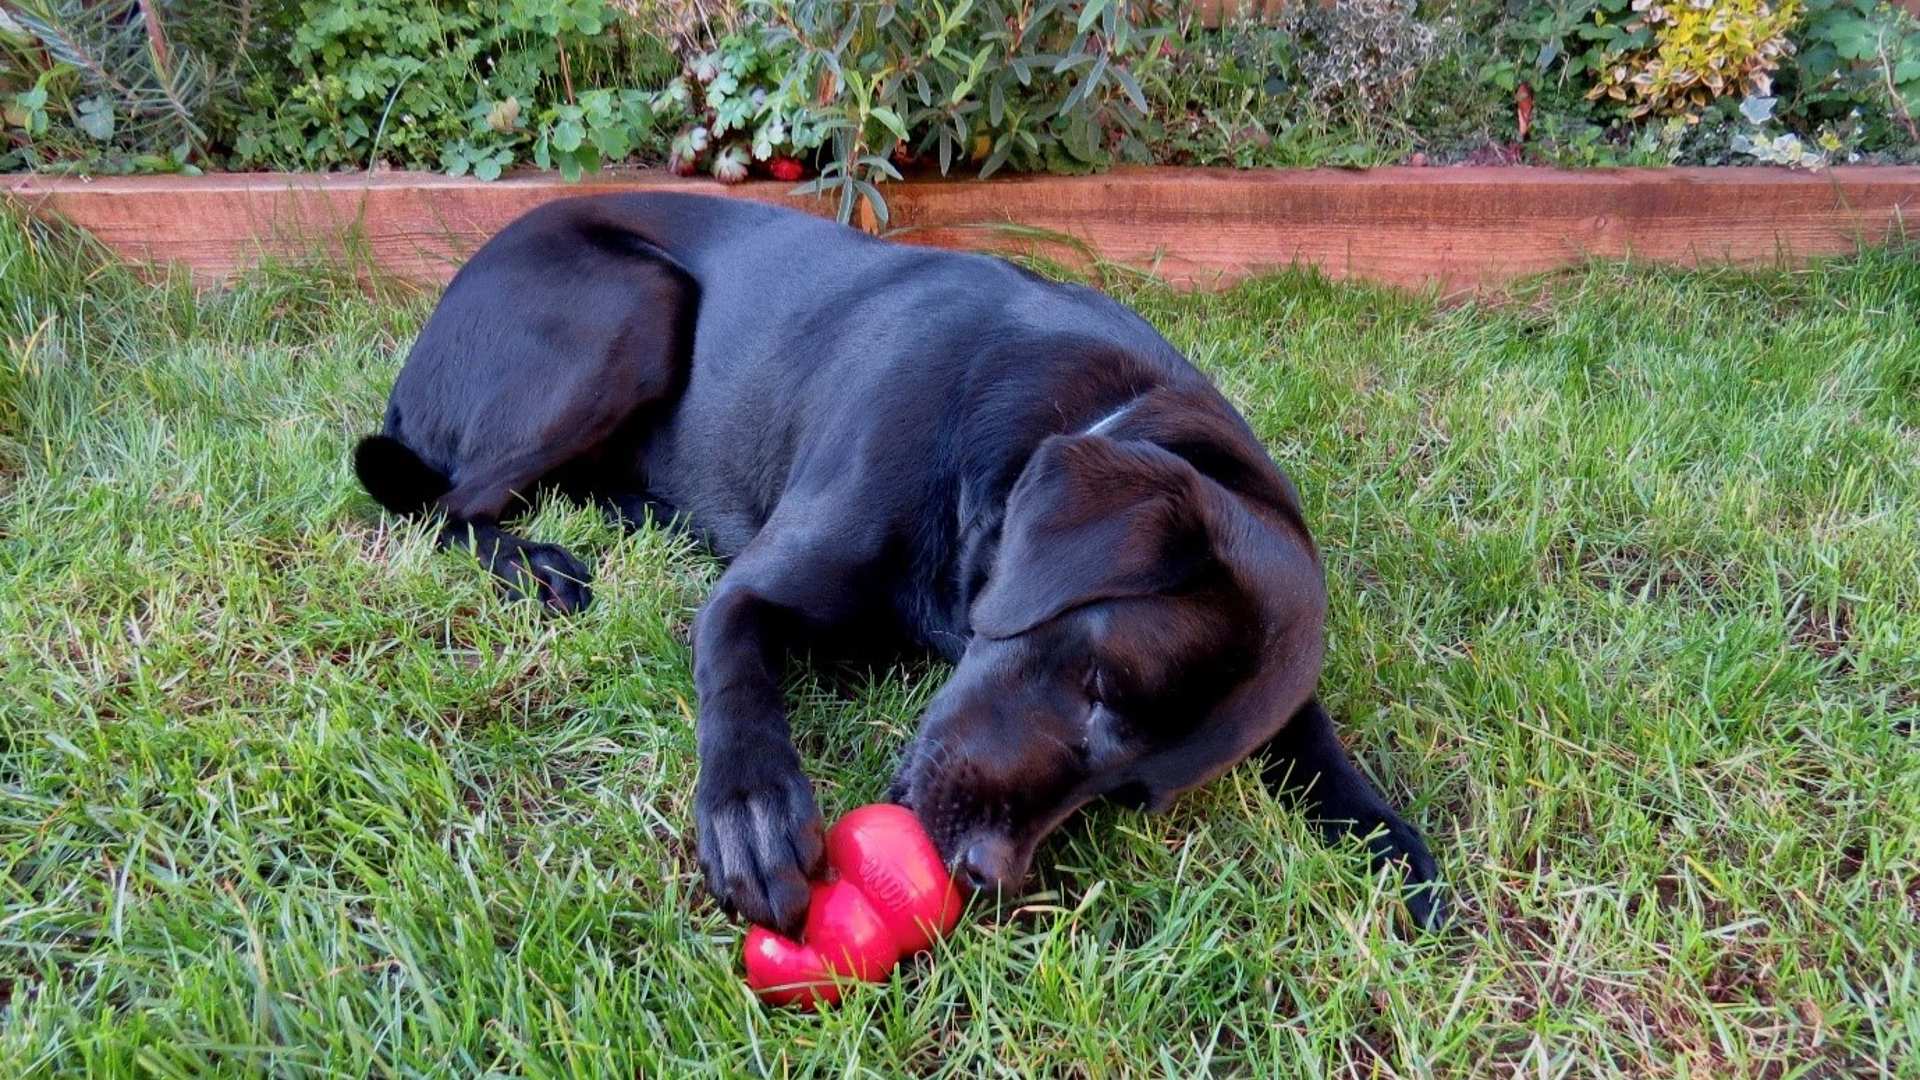
    Entertaining your Dog at Home

    There are many changes you can make at home to keep your dog entertained with a more enriching environment. Here are a few examples to get you started: 

  2. Arthritis

    Arthritis

    Find out how to support your cat dog or rabbit especially as they move into their senior years.

opens in new window